
How to Light an Interview: Balancing Technique and Creativity
Lighting can make or break an interview. It sets the mood, defines the subject, and communicates tone before a single word is spoken. Whether you’re shooting a corporate brand piece, a documentary, or a cinematic testimonial, knowing how to shape light is essential.
At Parthenon Pictures, we’ve lit interviews everywhere, from studios to living rooms to factory floors. Over the years, we’ve leaned on traditional methods but also developed our own unique style for each project. Here’s how we approach interview lighting.
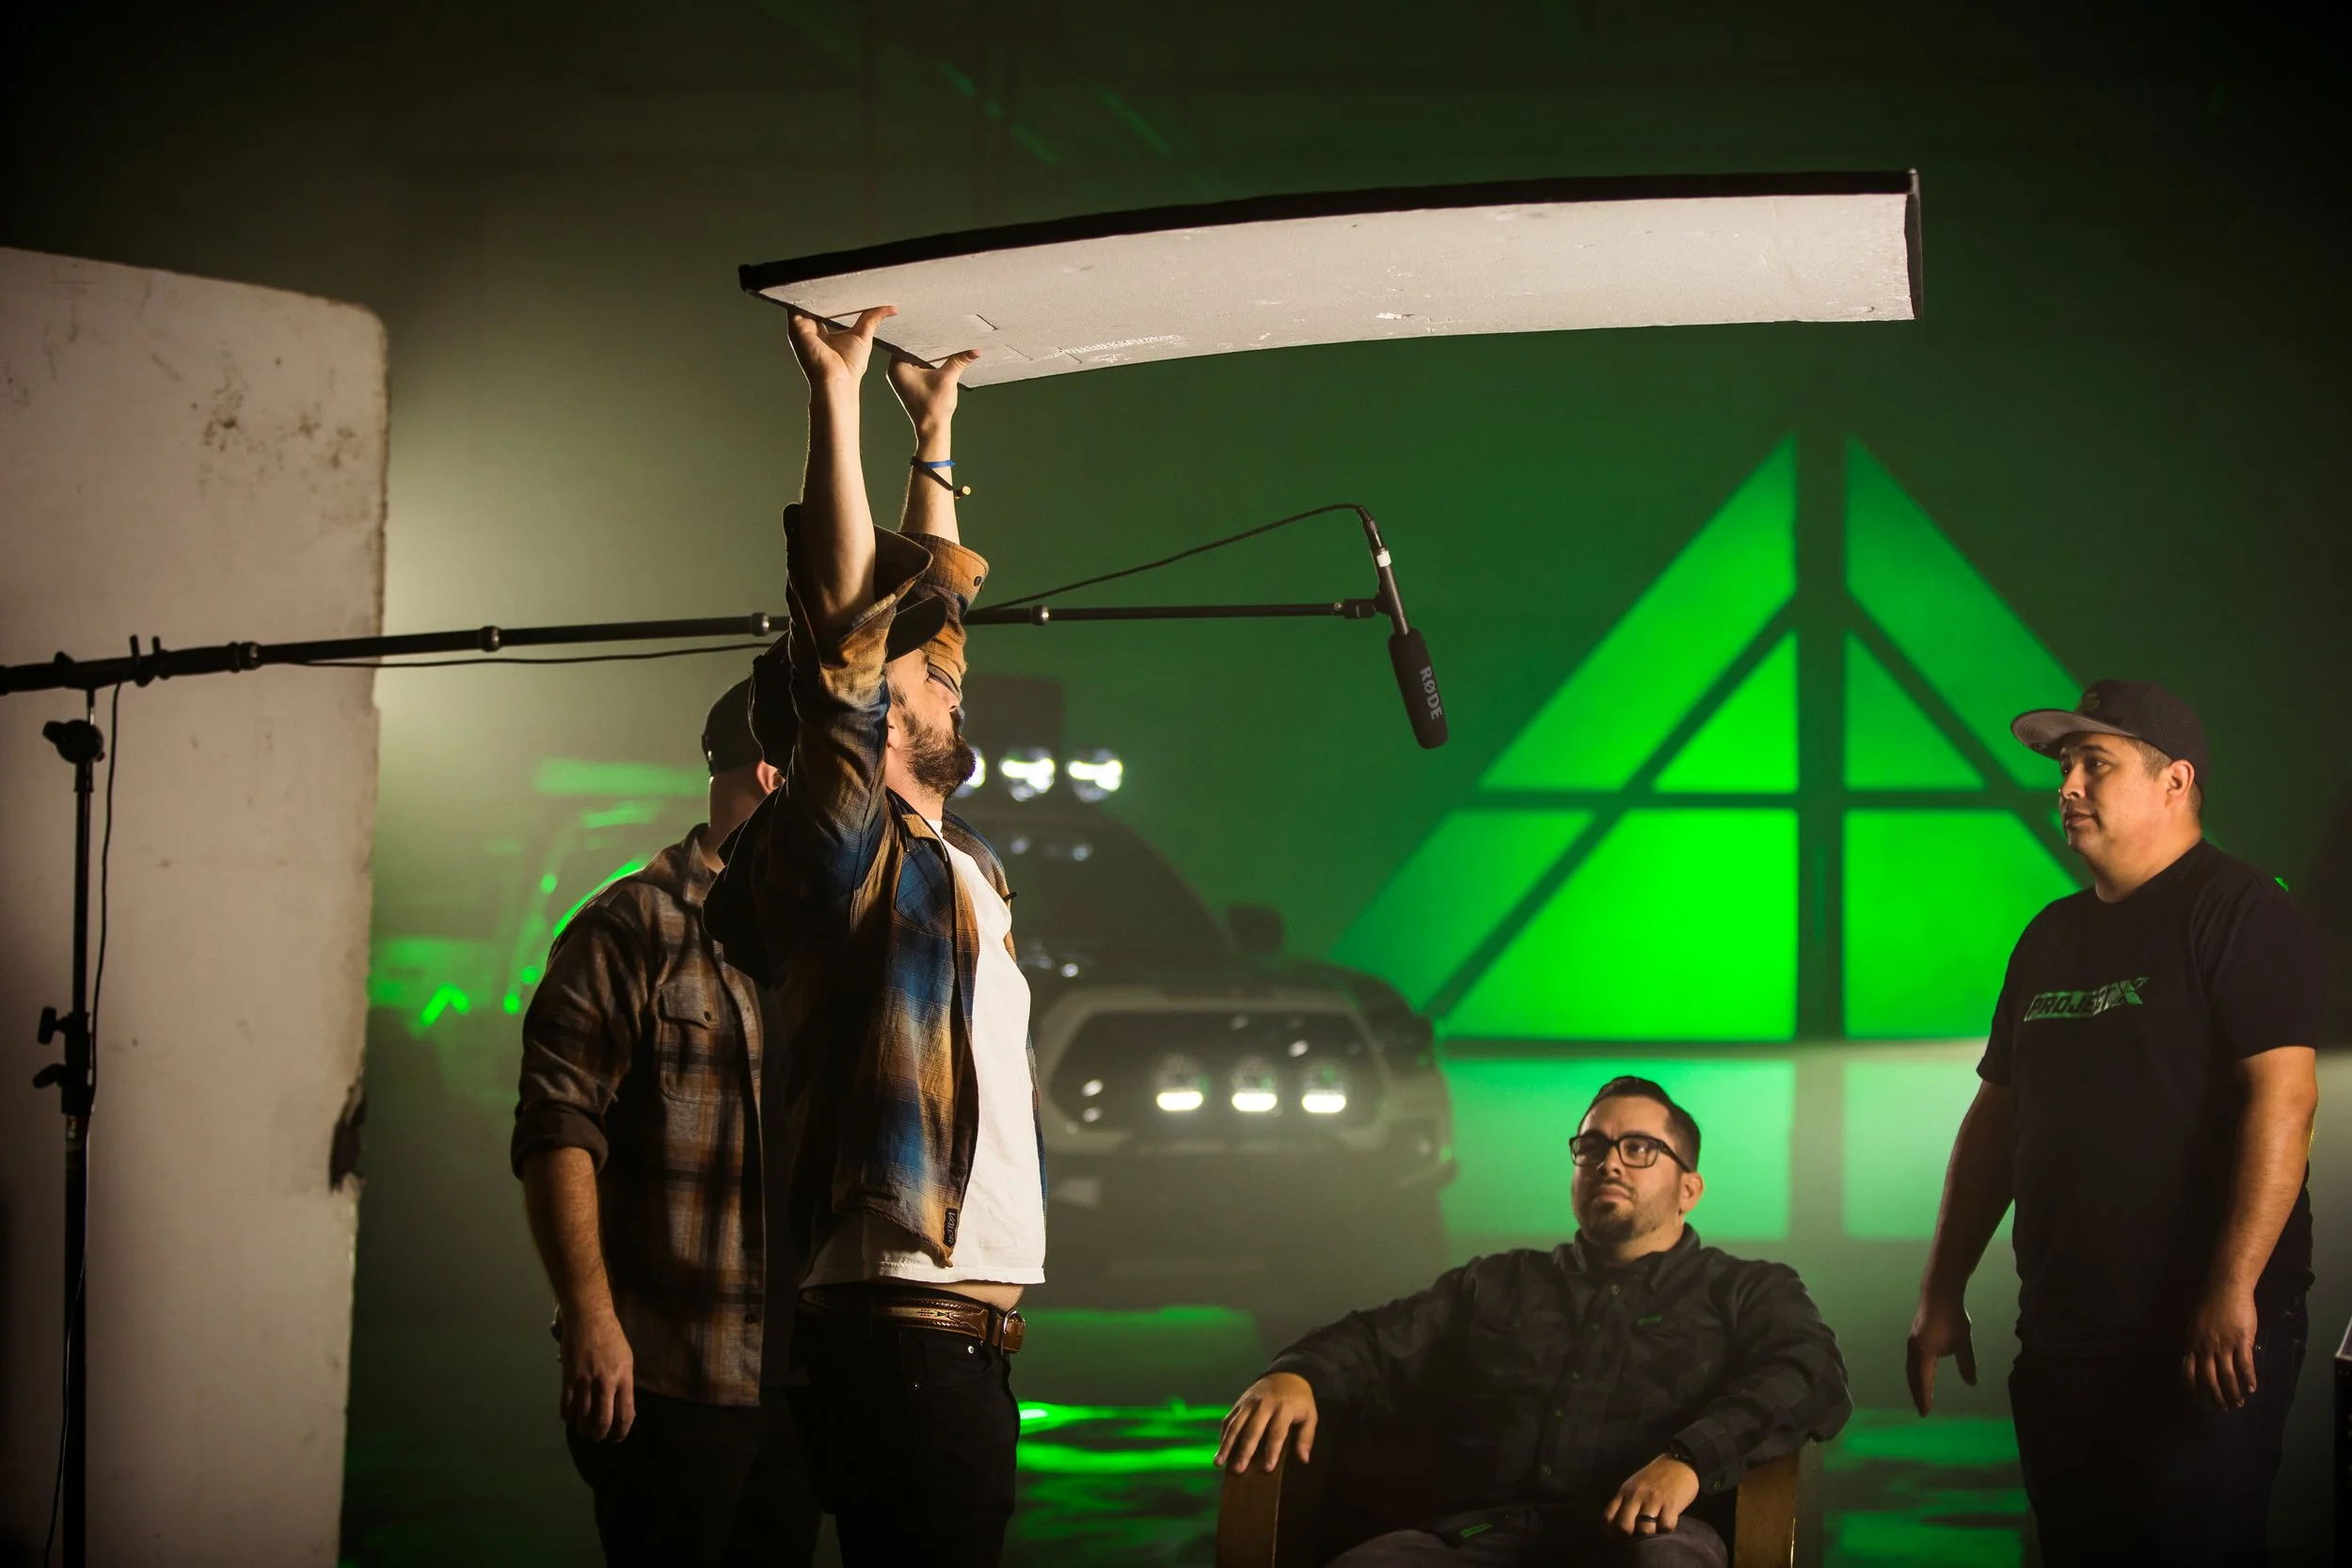
Be creative with your lighting. A simple foam board can make or break a setup.
The Traditional Three-Light Setup
The three-point lighting setup is the foundation of most interviews:
Key Light – The main source of light, it is usually placed at a 45-degree angle to the subject.
Fill Light – A softer light used on the opposite side to reduce harsh shadows. This can also be a bounce, such as a V-Flat or reflector.
Back Light (or Hair Light) – Positioned behind the subject to separate them from the background and add depth.
This setup is reliable, professional, and versatile. It’s often the starting point for corporate interviews or any project where clarity and polish are priorities.
I treat this as a foundation for how we film our interviews. When you use this formula, it allows you to expand and adjust from there.
Three light setup, straight from camera w/ no color grade.
My Favorite: The Book Light
While three-point lighting works, my favorite technique for interviews is the book light. This method involves bouncing a strong light into diffusion, then through another layer of diffusion. The result is a soft, natural, cinematic quality that flatters the subject and feels less “lit.”
A book light creates dimension without harshness, perfect for documentary-style interviews where authenticity and intimacy matter. It mimics the softness of daylight, and it’s forgiving on skin tones, which makes subjects more comfortable on camera.
This option also required more equipment. You would need to large frames 6x6 or 8x8 with a silk and an ultra-bounce. One of my favorite modifiers is a piece of muslin with tungtsen light, it makes skin tones unbelievably rich.
A 6×6 frame with a silk being used in a book light setup.
Don’t Underestimate Negative Fill
Lighting isn’t just about adding light, it’s also about taking it away. Negative fill (using flags, duvetyne, or solids to absorb light) is one of the most powerful tools in interview lighting.
By reducing unwanted bounce and softening spill, negative fill can add contrast and shape to a subject’s face. It’s often the difference between a flat, lifeless image and one with depth and character.
Even just hanging a black furniture pad is a budget way of creating negative fill. The goal is to wrap the light around your subject.
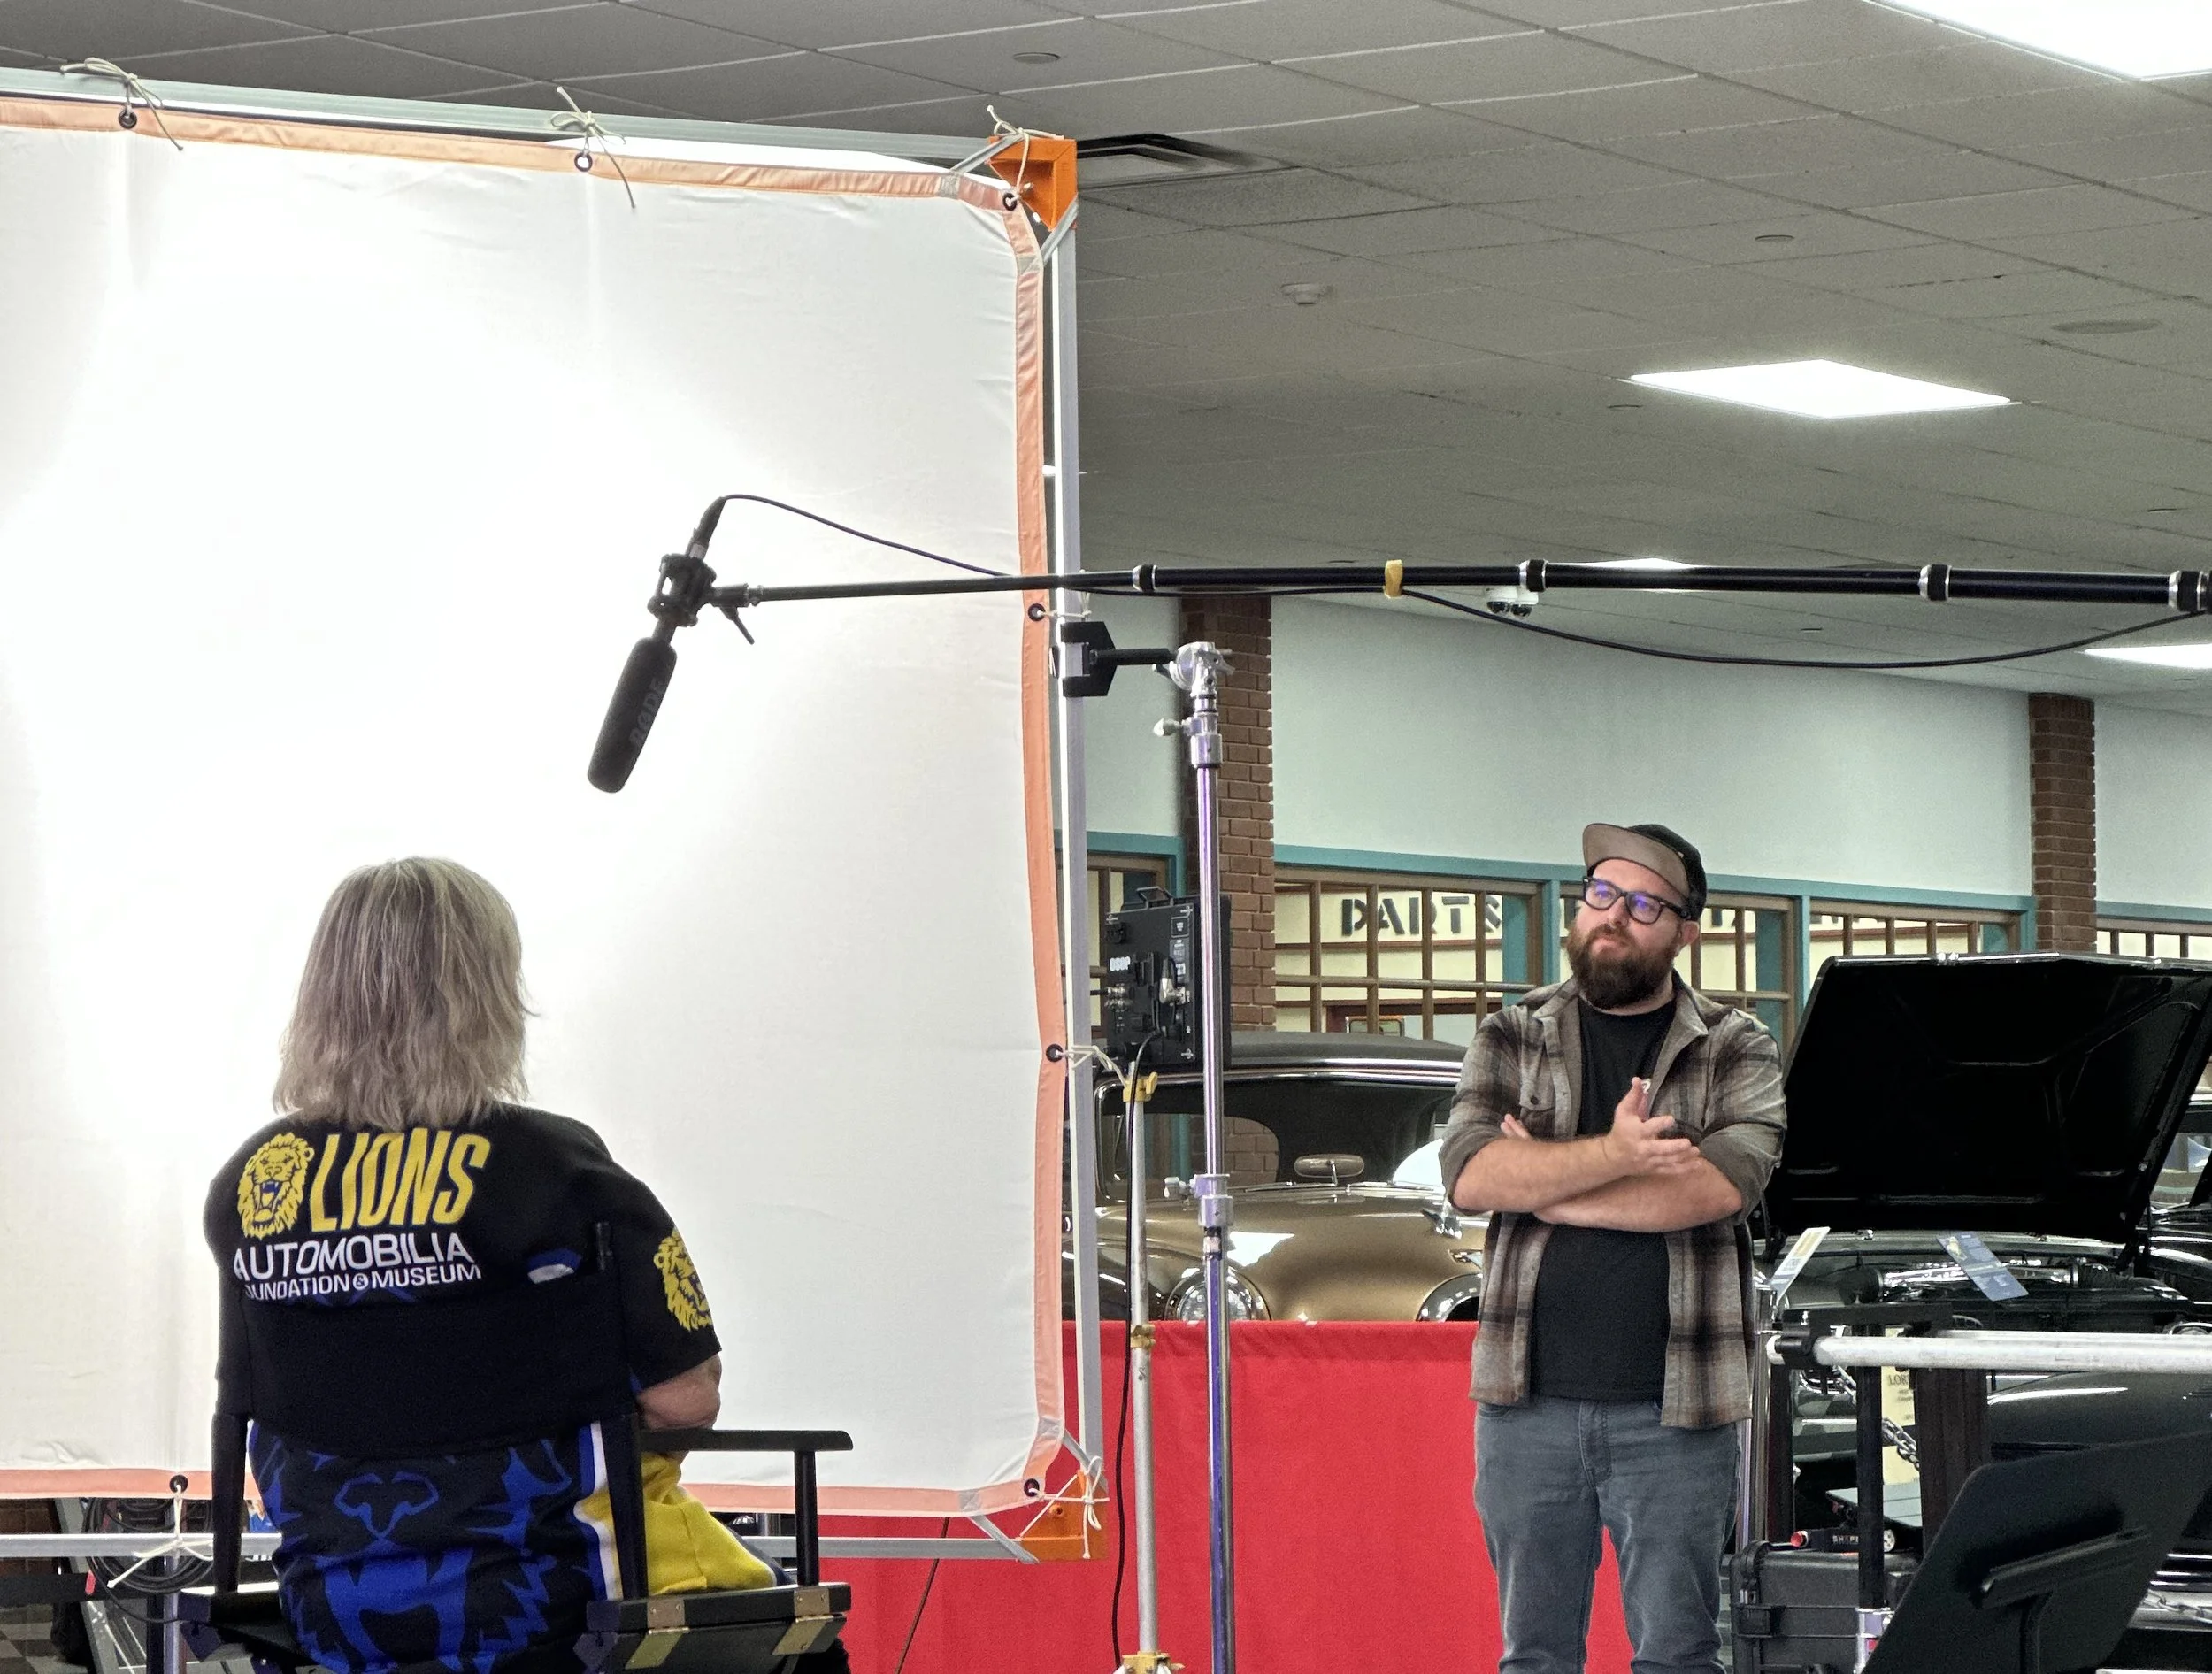
A 2×3 flag being setup for negative fill for a standing interview.
Think Beyond Technique: Light the Tone
Every interview has a tone. Lighting should reflect that. A bright, even setup works for optimistic brand stories. A moodier, side-lit look can enhance a vulnerable testimonial with a dramatic effect. A high-contrast approach may communicate grit or seriousness.
The key is to be intentional. Don’t just light for exposure, light for emotion. Ask yourself: What is this story, and how can I show that visually?
Final Thoughts
At the end of the day, there’s no single correct way to light an interview. Traditional three-point setups offer professionalism, book lights provide cinematic softness, and negative fill shapes mood. The best approach is the one that supports your story.
At Parthenon Pictures, we tailor interview lighting to each project, blending our tools with creative choices.